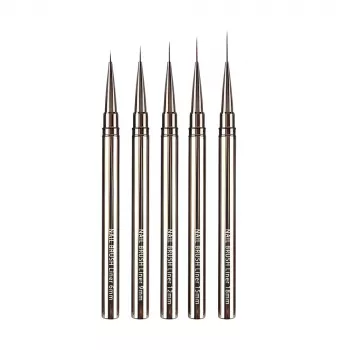
Wooden Cuticle Pusher & Nail Art Sticks: Clean Nails
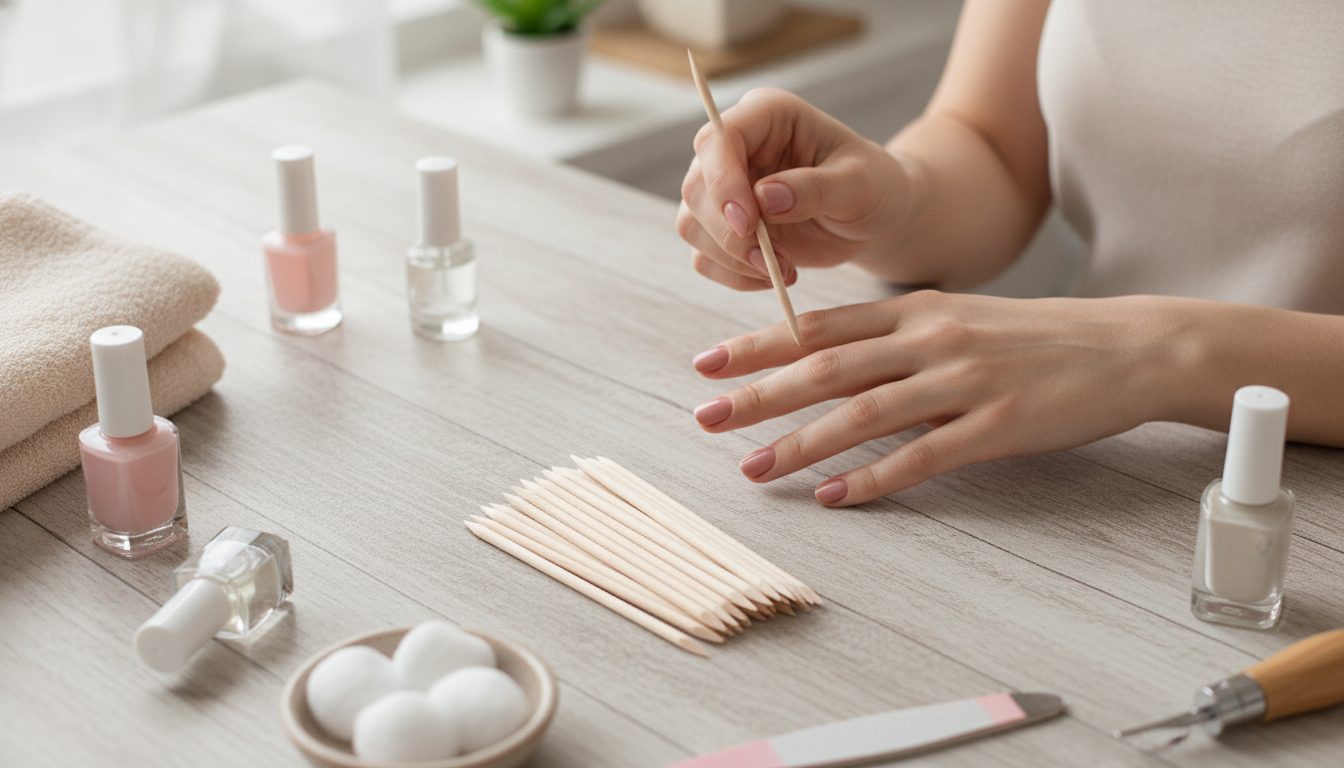
Professional Wooden Cuticle Pusher & Nail Art Sticks for Clean Manicures and Detailed Designs
Wooden cuticle pushers and nail art sticks are simple tools that can make nails look noticeably cleaner and polish look more precise. With a gentle touch, they help lift and push back cuticles, tidy edges around the nail plate, and add control for small nail art details—without the harsh feel of some metal tools. For more guidance, see Chapter 240-17 NAIL CARE SCHOOL EQUIPMENT, CURRICULUM ….
What these wooden nail sticks are used for
- Cuticle care: gently pushing back softened cuticles to reveal more of the nail plate for a neater look
- Prep work: removing residue around the nail’s sidewalls so polish and gels adhere more cleanly
- Cleanup: tracing along the edges after polishing to sharpen lines and remove small smudges
- Detail work: placing tiny accents and guiding small decorative elements during nail art
- Pedicure support: tidying toes where the nail corners and sidewalls can be harder to reach
Why wooden tools are a go-to option
- Gentler feel: wood can be less intimidating than metal for beginners and sensitive cuticles
- Better control for small tasks: the material provides a grippy, steady hold for detail work
- Single-use friendly: ideal for hygiene routines where disposable tools are preferred
- Versatility: one tool can assist with prep, cleanup, and design tasks depending on the tip used
- Salon-style workflow at home: supports a clean, step-by-step routine without complex equipment
Quick overview and typical tasks
These sticks are designed for manicure and pedicure routines that require gentle cuticle pushing and precision cleanup. They work well on natural nails and after polishing (regular polish, gel polish, and nail art finishes). For the smoothest results, pair them with proper softening—either a quick warm-water soak or a cuticle softener—to reduce tugging. For further reading, see Manicure – Wikipedia.
Common tasks and how the stick helps
| Task | What to do | Tip for better results |
|---|---|---|
| Push back cuticles | After softening, glide the pusher end gently along the cuticle line | Use light pressure and short strokes; stop if skin looks irritated |
| Clean sidewalls | Trace along the sides of the nail to lift residue or product overflow | Work slowly near corners to avoid scraping the nail plate |
| Fix polish edges | Use the tip to refine the border where polish meets skin | Do this before fully curing/drying when possible |
| Place small decorations | Nudge small accents into position for nail art | Pick up pieces with a tacky top coat or a tiny dab of clear polish |
How to use for a clean manicure (step-by-step)
- Soften first: soak fingertips briefly in warm water or apply a cuticle softener to reduce resistance.
- Push back gently: keep the tool almost parallel to the nail and slide it along the cuticle line rather than pressing downward.
- Lift only what’s ready: focus on softened cuticle tissue; avoid forcefully scraping the nail plate.
- Tidy the perimeter: use the pointed end to remove small bits of residue near sidewalls and under the free edge (without digging).
- Finish with hydration: apply cuticle oil or a moisturizer after prep to help the skin rebound.
For baseline nail-care guidance and everyday upkeep, the American Academy of Dermatology Association’s nail care basics is a helpful reference for keeping nails and surrounding skin in good shape.
How to use during a pedicure without overdoing it
- Toe skin can be tougher: softening is especially important to prevent splitting or irritation.
- Work in good light: corners and sidewalls on toes are easier to over-scrape.
- Avoid aggressive digging: if something feels stuck, re-soften instead of applying more pressure.
- Moisturize after: cuticle oil or foot cream helps reduce dryness that can make cuticles look rough again.
Nail art and cleanup ideas that benefit from a pointed stick
- Marbling assistance: guide swirls while polish is still workable, keeping strokes light.
- Dot and placement control: position small decals or tiny embellishments precisely.
- Line sharpening: refine French tips or color-block edges by tracing along borders carefully.
- Smudge rescue: remove small mistakes around the nail without disrupting the full design.
Hygiene, safety, and smart handling
- Keep it clean: use a fresh stick when possible, especially if working on multiple people.
- Don’t share tools without proper sanitation: shared implements can spread bacteria and fungi.
- Watch pressure: redness, stinging, or bleeding are signs to stop and reassess technique.
- Store dry: keep wooden tools away from moisture to prevent warping and contamination.
- Know when to seek help: persistent pain, swelling, or signs of infection around the nail should be assessed by a healthcare professional.
If the skin around the nail becomes increasingly tender, swollen, warm, or pus-filled, it may be more than simple irritation. For an overview of nail infections and when to get care, see the Cleveland Clinic’s guide to paronychia.
Shop essentials to support a tidy nail routine
- Professional Wooden Cuticle Pusher & Nail Art Sticks – Manicure & Pedicure Tool (great for prep, cleanup, and small design placement)
- The Ultimate Productivity Blueprint | Digital Productivity Guide for Goal Setting, Time Management & Daily Routines (useful for building a consistent self-care schedule and upkeep reminders)
FAQ
Should cuticles be pushed back or cut?
Gentle pushing after softening can improve the look of the nail area, while cutting cuticles can raise the risk of irritation and infection if done improperly. If trimming is considered, use extra caution and follow dermatologist-aligned nail care guidance.
How often can cuticles be pushed back safely?
Many people do it about once a week or as needed, depending on sensitivity and dryness. Use light pressure, soften first, and pause for a while if the area looks red or feels sore.
Can wooden nail sticks be reused?
Single-use is the safest option, especially when working on more than one person. Reuse is only worth considering if the stick remains intact and can be cleaned and fully dried, but it should never be shared without proper sanitation.


Leave a comment