Pilates Ring Pelvic Floor Routine: Strength + Flexibility
Yoga and Pilates Ring for Pelvic Floor Training and Flexibility
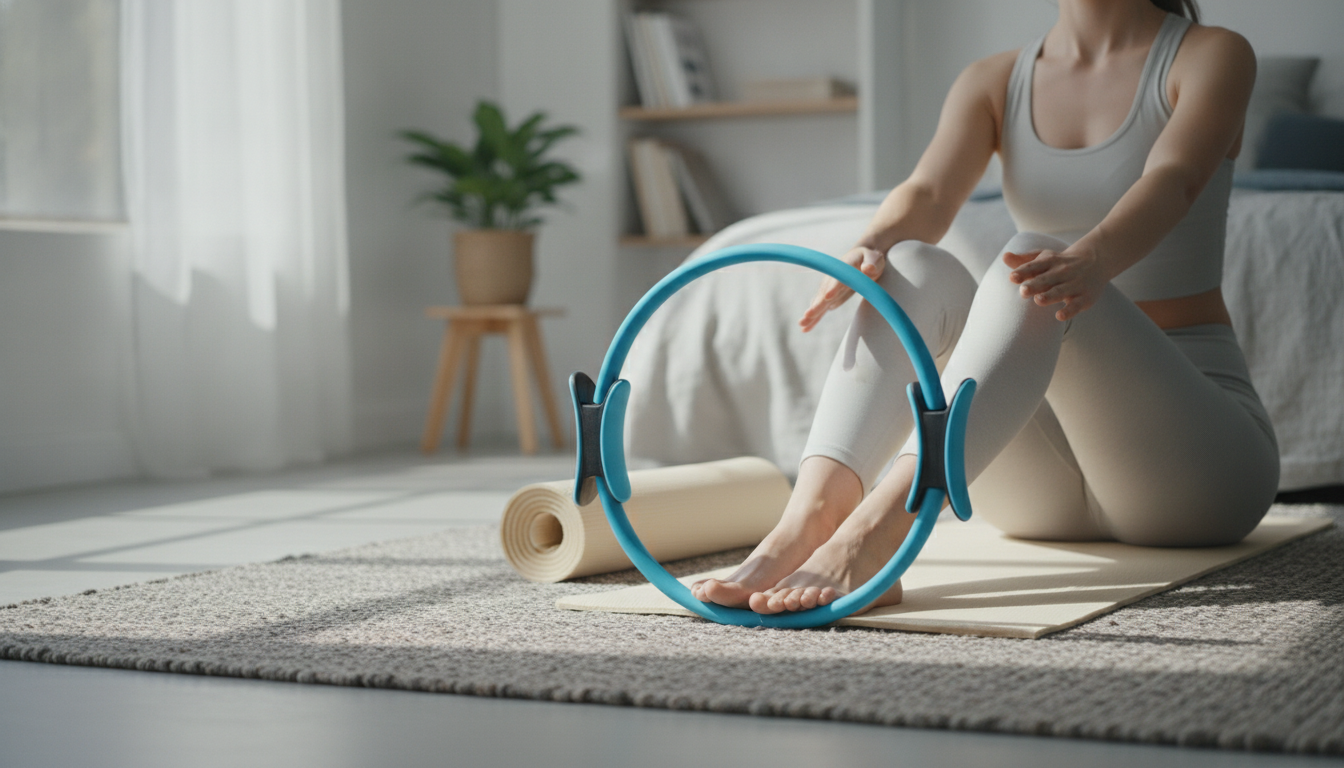
A yoga and Pilates ring (often called a magic circle) adds gentle, guided resistance that helps improve pelvic floor awareness, inner-thigh strength, and hip mobility. Used with breath and controlled movement, it can support better posture, core stability, and flexibility—without needing heavy equipment or a lot of space. Because the feedback is immediate (you can feel the ring press back), it’s especially useful for learning how to engage deep muscles without tensing everything else.
What a Pilates Ring Does for Pelvic Floor and Mobility
The pelvic floor and deep core are designed to work with breathing and posture. A ring helps make that connection easier to sense and control, especially if you tend to overuse glutes, hip flexors, or lower back.
- Provides light resistance to help “find” deep muscles that are easy to compensate for (pelvic floor, transverse abdominis, inner thighs).
- Encourages better alignment by giving a stable point to press into (between knees, ankles, or hands).
- Supports hip and hamstring flexibility by pairing gentle isometrics with slow range-of-motion work.
- Useful for beginners who need feedback and for experienced movers who want more control-focused intensity.
If you’re working on pelvic support symptoms or unsure whether you’re doing pelvic floor contractions correctly, reliable guidance matters. Helpful overviews include Mayo Clinic’s Kegel exercise guide and ACOG’s information on pelvic support problems.
How to Use It Safely (Especially for Pelvic Floor Work)
- Match effort to breath: exhale on the press/engagement, inhale to release—avoid holding breath or “bearing down.”
- Think “lift and wrap” rather than squeezing hard; aim for 30–60% effort for most sets.
- Keep ribs stacked over pelvis; if the lower back arches or shoulders hike up, reduce pressure or change position.
- Stop if there’s pelvic pain, heaviness/pressure, or urine leakage that increases with effort; consider a pelvic health professional for individualized guidance.
- Postpartum or post-surgery: get clearance first and start with short, low-intensity holds.
A simple self-check: if your face, jaw, or neck is tensing during a press, you’re likely working too hard. Dial the pressure down and focus on a slow exhale that narrows the ribs and steadies the pelvis.
Quick Setup: Best Ring Placements and What They Target
Changing where you place the ring changes the training effect. Start with the position that helps you feel steady and aligned, then progress to more challenging placements once your control improves.
| Placement | Primary focus | Helpful cue | Common mistake to avoid |
|---|---|---|---|
| Between knees | Inner thighs + pelvic floor synergy | Exhale, lightly press, feel a subtle lift | Max-squeezing and gripping glutes |
| Between ankles | Outer hips + leg alignment | Press out gently, keep knees tracking forward | Knees collapsing inward or locking |
| Between hands | Posture + shoulder stability | Long neck, shoulders down, press evenly | Shrugging or rib flare |
| Seated between knees | Core control for desk posture | Sit tall, exhale on press, relax jaw | Holding breath and rounding |
10-Minute Pelvic Floor + Core Routine (Beginner-Friendly)
This routine prioritizes breath-led control. Move slowly, fully relax between reps, and keep effort at a level where you can still breathe smoothly.
- Seated breath + gentle press (ring between knees): 6 slow exhales. Press lightly for 3–5 seconds each exhale, then fully release on the inhale.
- Bridge with ring between knees: 2 sets of 8 reps. Exhale to lift, inhale to lower. Keep ribs soft (no flaring) and avoid clenching the glutes at the top.
- Dead bug arms press (ring between hands): 2 sets of 6–8 per side. Lightly press the ring to connect ribs to core while one leg moves; keep the low back heavy on the mat.
- Side-lying clams (ring between ankles or just above knees): 2 sets of 10 per side. Keep pelvis stacked and tempo slow; stop before the waist rolls backward.
- Finish with hip flexor stretch + relaxed breathing: 60–90 seconds per side. Let the pelvic floor soften on inhales and feel the ribs expand 360 degrees.
If 10 minutes feels like too much at first, do steps 1–3 only and build consistency. Pelvic floor gains often come from repeatable, low-to-moderate practice rather than occasional intense sessions.
Flexibility Boosters: Pairing Strength With Stretch
Flexibility improves fastest when the body feels stable. The ring can create that stability by adding a mild “anchor” you press into, then release.
Choosing a Ring and Getting the Most From It
Product Options (In Stock)
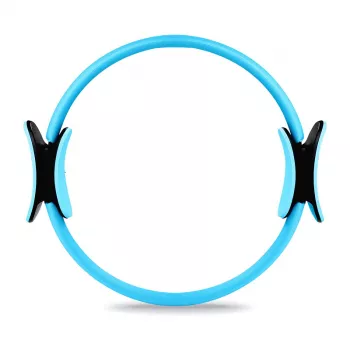
- Yoga and Pilates Ring for Pelvic Floor Training and Flexibility — a compact ring designed for controlled resistance work in Pilates and yoga flows.
- The Ultimate Productivity Blueprint — helpful for building a realistic routine so short mobility sessions actually happen (especially on busy weeks).
- Stronger Together: Family Bonding Pack — an easy way to add light activity breaks and movement-based connection time at home.
FAQ
Can a Pilates ring help with pelvic floor strength?
Yes—used with breath and good alignment, it can improve awareness and coordination of the pelvic floor and deep core. If you have symptoms like pain, heaviness, or worsening leakage, it’s not a substitute for individualized pelvic rehab.
How often should ring exercises be done for flexibility and control?
Most people do well with 3–5 short sessions per week (about 10–20 minutes). Focus on gradual progress, full relaxation between reps, and a mix of strength and mobility work.
Should the ring be squeezed as hard as possible?
No—light-to-moderate effort (around 30–60%) is usually more effective for control and coordination. Avoid breath-holding and compensating with glutes, ribs, neck, or shoulders.


Leave a comment